Belts are crucial components in FDM 3D printers, responsible for driving the printhead and the heated bed movement. When you're performing maintenance on your 3D printer, don't forget to check whether your printer's belts are well-maintained, as this is an important task. If you find the belts to be loose, promptly tighten the belt tensioner; otherwise, it can easily lead to poor print quality issues, such as 3D print ghosting and layer shift. However, if you notice any damage, replace the belt in time, in order to avoid printing defects and failures in the future. This blog will give you a step-by-step method of replacing the Y-axis belt on Anycubic 3D printers. There is also another guide on the replacement of the X-axis belt, and hope this can help you.
Tools you need:
- Allen keys
- New belts

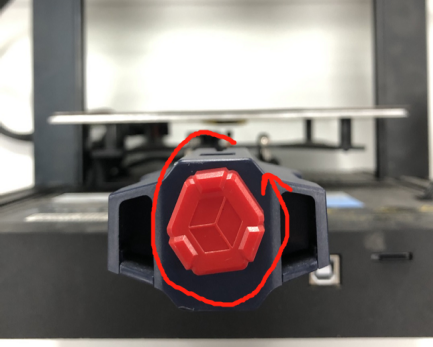
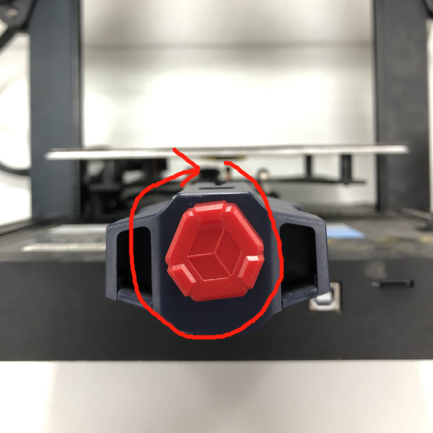
Step 1: Unscrew the nut on the Y-axis tensioner for adjusting the belt tension in a counterclockwise direction.

Step 2: Unscrew the 2 fixing screws that fix the Y-axis tensioner on the Y-axis carriage.

Step 3: Use auxiliary tools to remove the copper buckles at both ends of the belt from the bottom of the printing platform.

Step 4: Pull out the belt from the Y-axis tensioner. If it is stuck, you can use an auxiliary tool to adjust the position of the synchronous pulley in the tensioner, so that the space inside the tensioner becomes larger, and it is easy to remove the belt. After removing it, pull the belt out of the Y-axis carriage.

Step 5: Install the new belt and thread the belt through the Y-axis carriage. After passing through, clip the belt along the synchronous pulley on the Y-axis motor into the sheet metal groove under the printing platform.

Step 6: Remove the printhead cable from the print head module, move the printhead module towards the direction of the X-axis tensioner, and remove it, and set it aside. Then remove the entire belt from the X-axis carriage.
*Notice: The smooth side of the belt is down and the toothed side is up.

Step 7: Pass the belt through the Y-axis tensioner, pass it along the synchronous wheel in the tensioner, and clip it into the sheet metal groove under the printing platform.

Step 8: Install the nut on the Y-axis tensioner to adjust the belt tension and install it by rotating it clockwise.


