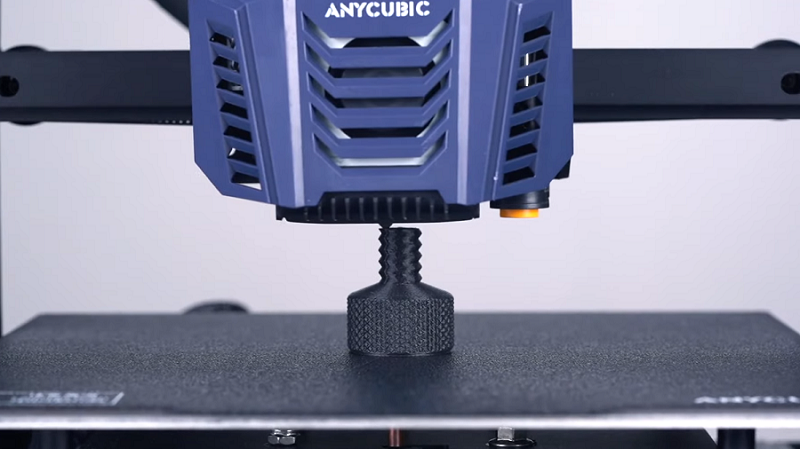
If your 3D printer is printing on the corner instead of the center of the build plate, it may cause the first layer to not adhere well to the platform, resulting in warping, layer shifting, or even failed prints. This issue often occurs due to inputting the wrong print size in the slicer, which is a common mistake made by beginners. The other is the bed leveling error, which appears when the moving parts on the axis are worn or damaged. In this article, we provide you with 3 easy ways to quickly fix the problem of your prints not printing in the center.
1. Zero the X, Y, Z Axis on Your 3D Printer
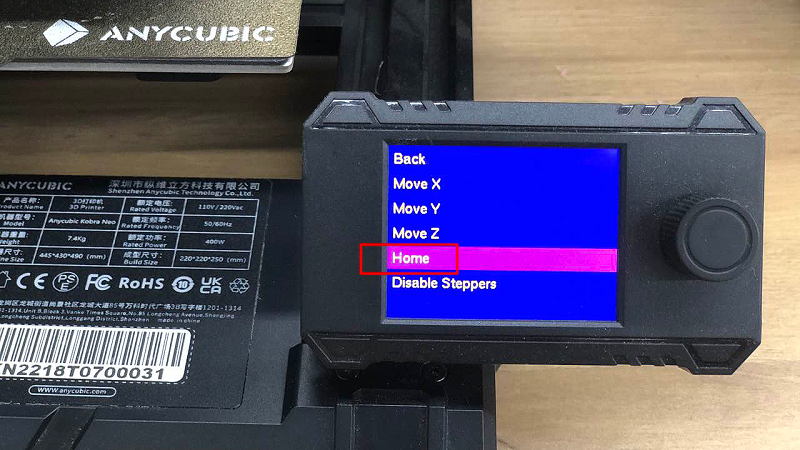
Zeroing the X, Y, and Z axis on your 3d printer means setting their positions to the origin point, which is typically the furthest point of travel in each direction. This ensures that the printer is calibrated and ready to print accurately in the correct position. Zeroing the X and Y axis ensures that the print head moves correctly within the build volume, while zeroing the Z axis ensures that the print head is at the correct height above the print bed.
Some printers, such as Anycubic Kobra 2 series, will automatically home all axes before each print to achieve more accurate print positioning. This process can also be initiated by hitting the "Home" button in Anycubic printers' control display, and it's important to observe whether the return is normal.
The fast 3D printer Anycubic Kobra 2 Pro and the large-size flagship high-speed printer Kobra 2 Max, they all use double metal spindles to ensure the stability of the printing process; and support vibration compensation to improve the accuracy and details of 3D printed products.
2. Re-level the Bed and Check the Moving Components
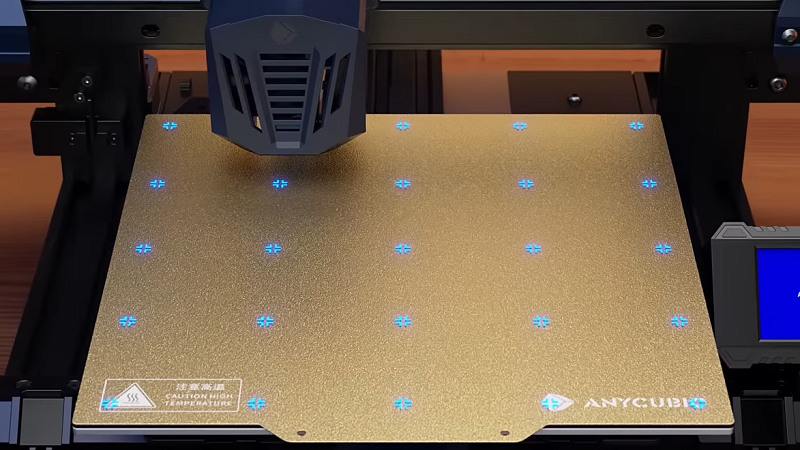
Stuck or damaged moving parts on the axis will affect the accuracy of bed leveling, causing your print to not start at the center of the build plate. The next step is re-leveling the bed, if the process of zeroing the axes runs properly. It’s recommended that try printing the test model to verify that the printer is well-calibrated. However, when you encounter bed leveling problems, you should check each of the 3 axes by sliding them with your hands to see if they are stuck or not smoothly moving on the rails. And don't forget to inspect whether there is any damage to the moving carriages or the pulleys.
When the moving parts of the printer are obstructed or damaged, the stepper motor that drives them will experience resistance. In this case, the motherboard will recognize the obstructed position as the origin point, causing the printer fails to level and start printing from a position that is not at the center of the build plate.
3. Adjust Slicer Settings
When you receive a new printer and finish set-up, don't rush to start printing without first configuring the slicer settings. It is necessary to make basic settings for the slicer, such as the printing dimensions and extruder settings. Then jump to set the print parameters for your 3d model. Anycubic provides corresponding Cura profiles for their FDM 3d printers, and if you don't know how to import Cura profiles, check out this article.
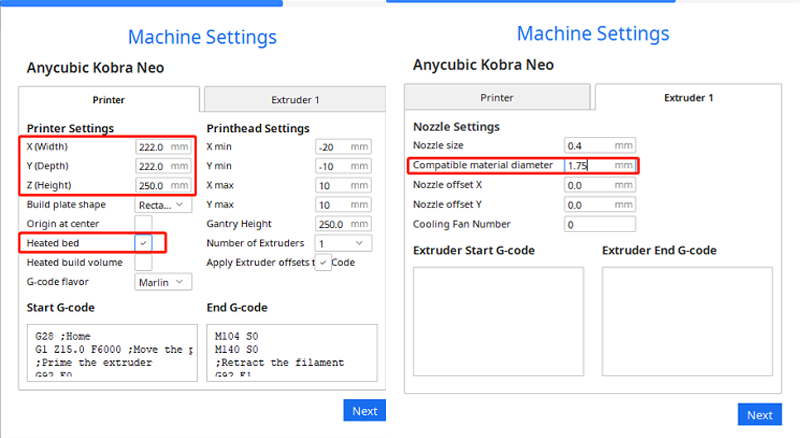
The reason why your 3D printer is printing in the corner is because the printing dimensions in the slicer are incorrect. Taking Anycubic Kobra Neo as an example, you need to customize the X, Y, and Z axis dimensions in the machine settings on Cura, and the values should refer to your own printer's print size.
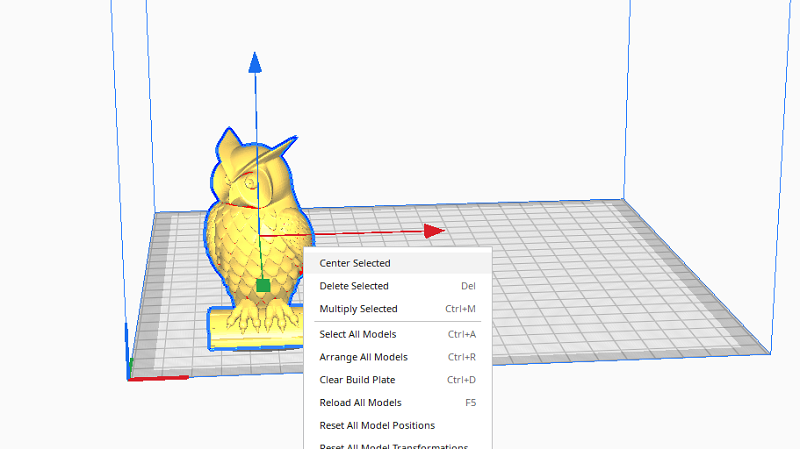
Once you have ensured that both the machine and print settings are correct, if your 3D model is still located in the corner of the printing platform in the slicer like Cura, you can right-click on the 3d model and select "Center Selected" to automatically move it to the center of the platform. This can be a quick fix.
Final Thought
The above 3 methods are easy ways to fix the issue of prints not printing in the center. Ensure that the moving parts of your printer are functioning properly, the bed leveling is optimal, and you have entered the correct print size in the slicer. If the issue still can not be solved, you may need the help of a professional. Anycubic provides one-on-one after-sales support to their users, which means that users can get help from the after-sales engineers at any time. To receive better help, Anycubic users provide pictures or a video of their troubleshooting results to the engineers.


