Most 3D printers only read specific file formats, so model files need to be sliced and converted into the corresponding format through a slicer, or else it may result in a file that cannot be read by a resin 3D printer. Anycubic Photon Workshop is a free slicing software developed specifically for all Anycubic resin printers. This software is continuously updated and comes with configuration files for all Anycubic machines. This article is a basic guide on how to quickly get started with the Anycubic Photon Workshop slicing software. This tutorial is intended for the slicer with V3.0.0 or higher.
Related Articles Recommended List:
- Introduction to 7 Tools
- Description of Common Parameters
- Introduction of Key Parameters
- Guide on How to Add Support
- Comparison of Support Tips
How to Download or Update Anycubic Photon Workshop

Download: You can download the Anycubic Photon Workshop slicing software from the official website's download page.
Update: If a new version is released, you will receive an automatic notification when you open the software. Alternatively, you can check for updates by going to the top menu in the interface and selecting 'Help' - 'Check Update'.
Introduction to User Interface

- Open/save file, undo/redo
- Functions to edit the model
- Support settings
- Machine settings
- View mode
- Positioning tools
- 3D model preview
- View switcher
- Draggable slider to preview each layer of the model
- Object list
- Configuration of machine, resin and print settings
- Slice button
This is the interface of Photon Workshop v3.0.0. Compared to the previous version, the interface has become cleaner and more streamlined. On the top right corner, you will see the menu panel. Next to it, here are some commonly used tools. Model positioning options are on the left side of the interface, where you can move, rotate, scale, mirror, and arrange models. At the bottom, you'll find information about the slicing file, including details related to resin and printing settings.
How to Import 3D Model Files

At the top of the menu panel in the interface, there is an 'Open' button. You can import files from your local computer into the software which supports STL or OBJ format files. If you import multiple files, you can select one or more models for editing in the object list. In the list, the highlighted file name indicates that it is selected. If you need to view the details of a specific model among several models, you can click on the icon of an eye next to the file name in the list. This means you can hide it. However, you should note that once a model is hidden, you cannot perform slicing and configuring on it.
How to Manage Machine Configuration

Click on the 'Machine' dropdown option, at the bottom right of the interface, to select your specific machine, as different machine models have different configuration settings. It is not suggested to modify the pre-configured machine settings to avoid affecting the printing results.
For all Anycubic resins and printers, there are recommended parameter settings that you can find in the machine's manual or on the official website. If you are unfamiliar with various parameters of print settings, I highly recommend that you read these two articles: 'Description of Common Parameters' and 'Introduction of Key Parameters'.
How to Add Supports
(Model from Fabio Nishikata)
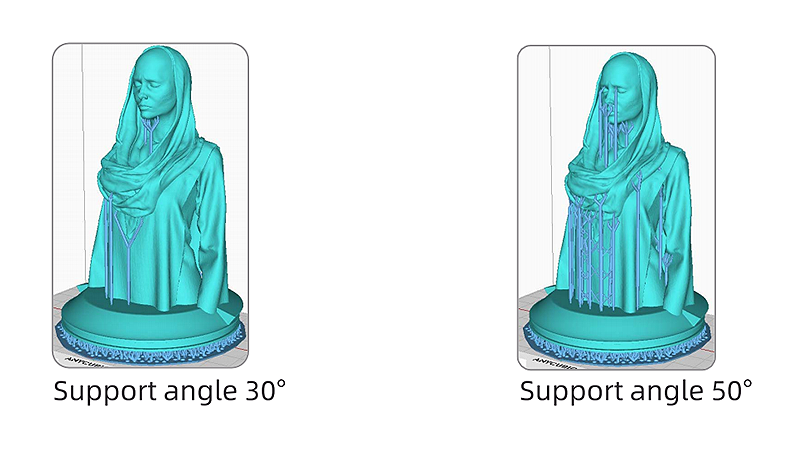
In the top panel of the interface, find and click on 'Support', which will bring up a small settings window for support adjustments. In the support script, you can choose the thickness of the support, ranging from light to heavy. Then, properly increase the support angle or reduce the anchor distance to the model, as they can help enhance some weak points of the model.
Automatically Generate Supports: The slicer can help you generate all supports with just one click. It also offers automatically generating supports only between the buildplate and the model.
Manually Add Supports: You can directly add supports manually to the model and even select the size of the anchor points.
Check Islands: On the preview page, you can run the island detector to check if the support structure is not strong enough, as this may lead to 3D print support separation issues. There is a slider on the right side of the interface that allows you to drag and inspect each layer. If there are yellow and red areas, it indicates that these areas need additional supports.
How to Export Sliced File
- Slicing
When all the setting is finished, click the 'Slice' button. Anycubic 3D printers can only read its corresponding sliced file formats, and you should choose the machine model you use at 'Machine Settings' to avoid print failure.
- Preview
In the bottom-right corner, there is an interface where you can preview slicing information, such as the estimated print time, and you can also adjust slicing settings.
- Export
- Save the Sliced File to the
- Return: Click 'Return' and go back to the editing interface.